by Rose Walker
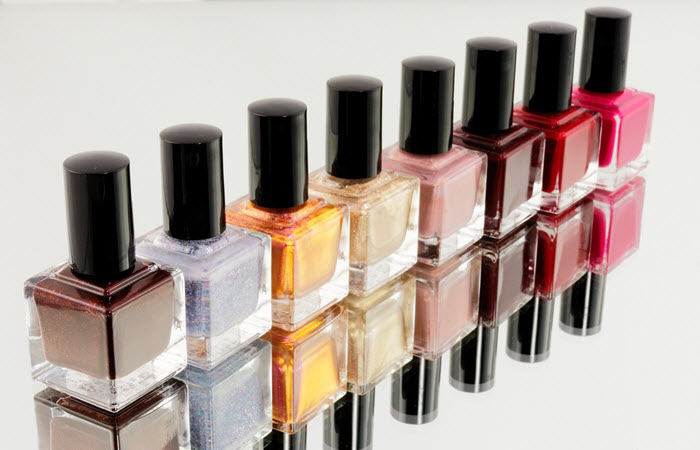
Organizing your nail polish collection isn’t that easy, particularly if you’re a full-blown nail aficionado. You can easily end up overflowing your cabinets with pretty bottles or find them scattered all over your apartment.
Don’t worry. We’re not judging you.

But, instead of feeling bad, why don’t you get creative and build your own rack? These two DIY nail polish rack tutorials can show you exactly how.
Knife
Ruler or measuring tape
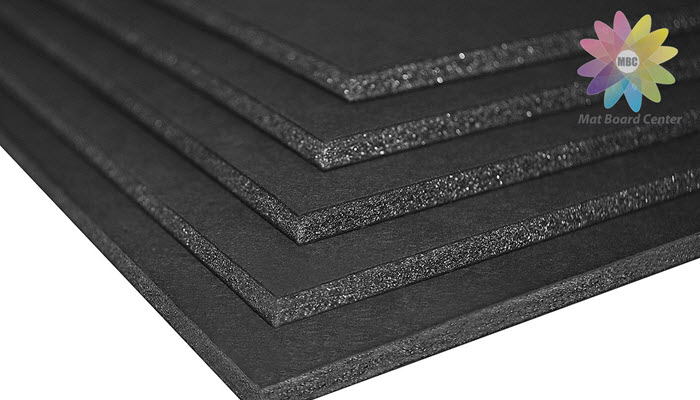
3 foam boards
Glue gun and glue sticks
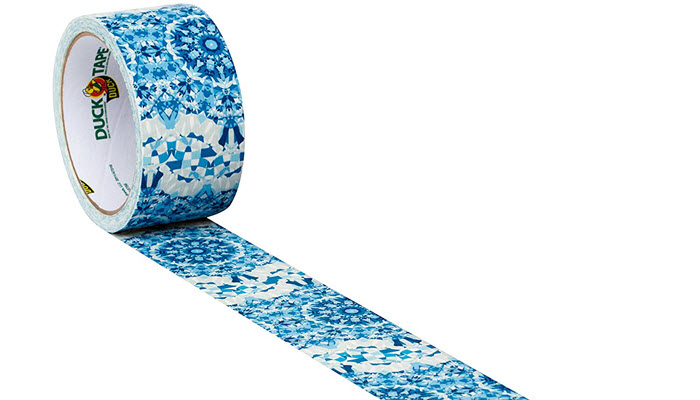
Duct tape (design is optional)

Using your ruler, draw two horizontal lines on the upper and bottom parts of the board. Make a mark every 5 inches. Once you’re done with that, draw vertical lines connecting the marks on upper part to the ones on the bottom. You can use your ruler or the edge of one of the other boards. This will the the back of you polish board.
This will serve as the shelves of your rack.
You can do the same marking procedure you did on the first foam board. Just take your ruler and draw two horizontal lines on the upper and bottom parts of the board. Make a mark every 2 inches and connect them after.
For the remaining foam board, make seven 1-inch strips.
These strips will serve as the sides of your rack.

Line the strips with glue before you actually attach them. You can strengthen the shelves by adding another layer of glue under the strips where the boards meet.
These strips will help prevent your polishes from falling off.
Tip: Once installed in your wall, you can use the top part of your rack to keep your nail polish removers and nail art tools.
See Also: 10 Best Nail Art Tools You Need In Your Life Now

Now, if these steps overwhelmed you, here’s a much easier version you can try.
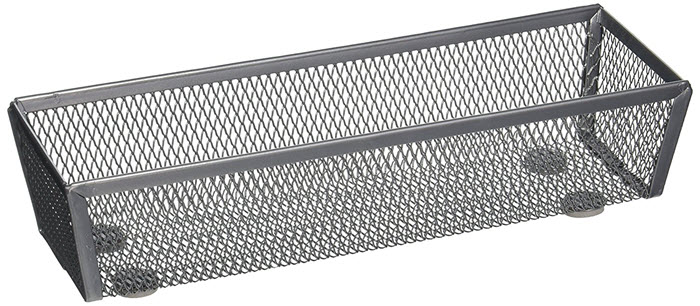
An oversized cutlery tray
Some wire hangers
Wire cutters
Spray paint
Place them in a way that won’t let your polishes fall off. If your tray has holes in it, like this one, you can just insert the rods and fold the edges to secure. If not, you may need to create small holes on the sides of your tray.

 |
 |
 |
 |

About Rose Walker
Rose Walker has worked as a nail artist for over 10 years. She's gained a lot of experience and developed her own unique style during that time. When she was working at a famous nail salon, she met Shirlyn. The two of them quickly became friends, and eventually decided to start their own website together. Naildesignideaz is the result of their collaboration - it's a website where they share their experience and offer tips on how to create beautiful nails.
 |
 |
 |
 |
Popular Posts