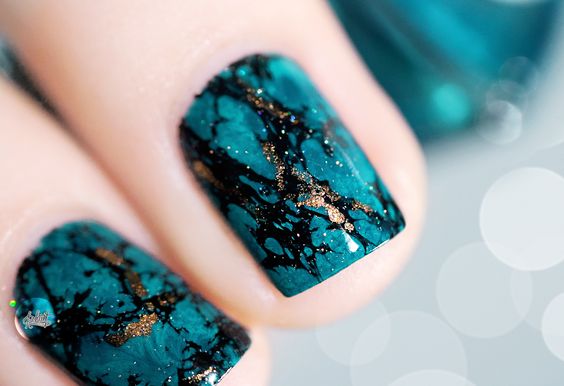
Marble nails are one of the latest trends for nail art designs. They’re unusual, unpredictable, and no two designs are exactly alike. In this way, they’re a little bit reminiscent of our snowflake nail art designs. Unlike snowflakes though, marbled designs aren’t seasonal and you can do them anytime.
Marble nail designs range from granite or stone-like designs to colorful tie-dye nail art. In this kind of design, you get veins, swirls, and faint shadows.
We recently published a set of marble nail designs where we featured some of excellent examples of this design. One frequent question from nail art enthusiasts was how to marble nails. In this tutorial, we tackle three techniques and explain them step by step.
Marble Nails With Water Technique
What you need:
Base coat
Top coat
Nail polishes
A shallow dish that can get dirty
Water in room temperature
Toothpicks or cocktail sticks
Cotton buds
Nail polish remover
How to do it:
First, paint the nails beforehand with a base coat. This will make the nail polish stick better when you apply it later on.
Next, apply moisturizer or Vaseline to the area around your nail. This will keep smudges from sticking to your skin when you apply the nail polish later on.
Now, it’s time to prepare the nail polish. Add water to the shallow dish. Get your first nail polish and let a drop fall into the water. Owing to the properties of both water and nail polish, the nail polish will stay on the surface of the water much like an oil film.
Quickly add more nail polish colors in the same way. Target the center when adding more colors. It is recommended that you use contrasting colors on your first try.
Next, get your thin stick and drag it gently across the colors. You will see patterns emerging. Keep your cool and make pretty patterns. Avoid muddying up the whole thing. Also, avoid the outer circle as this would have dried already. Warning! Nail polish, as you know, dries fast so work quickly.
Now that you’ve prepared your nail polish pattern, it’s time to apply it to your nails. Angle your nail onto the center of the pattern so that the nail polish gets onto the surface of the nail and then dip the entire tip of your finger into the water for a few seconds. This ensures that the pattern clings onto your nail.
Remove your finger from the water. You’ll have a gunked up finger but you can easily clean up your nail with the cotton buds and nail polish remover.
Do the same for all your nails. Let your nails dry and voila! You’ve got your marble nails.
Video:
Watch this YouTube video to make sure that you get all the steps. You’ll also learn some extra tips and hacks from this awesome and experienced YouTuber. The video is around 15 minutes as she takes the time on how to do even more marble designs for your nails.
Marble Nails WITHOUT Water
If you think that first technique was too messy for you, try this technique without the water.
What you need:
Base coat
Base color
Fast drying top coat
Nail polishes
Fine brush
Cosmetic pads
Toothpicks or dotting stick
Cotton buds or Q tips
Nail polish remover or Acetone
How to do it:
First off, apply a thin layer of base coat to protect your nail.
Next, paint on your base color. Make it a little bit thicker than you normally paint it on.
Add a drop or two of color on your nail with your nail polish colors. Don’t make the dots too big so the whole thing can dry faster. And make your dots different sizes so you can make a nice pattern.
Next is creating the pattern. Take your toothpick and gently swirl the colors. Again, don’t swirl aggressively to avoid making a mess. Five to eight mindful swirls work great.
Wait one minute and then apply a fast drying topcoat to seal your design in.
Video:
Here’s the video where we learned how to do this technique. You can see how this nail artist swirls her nail polish with the toothpick to create nice designs. The video is under 1.5 minutes so it’s just a fast watch.
Your Nail Art Basic Supplies for Marbleing
If you’re totally into marble nail art and other nail art designs, here are some supplies you will find useful. These are all highly recommended and the dotting tool just comes in at over a dollar!
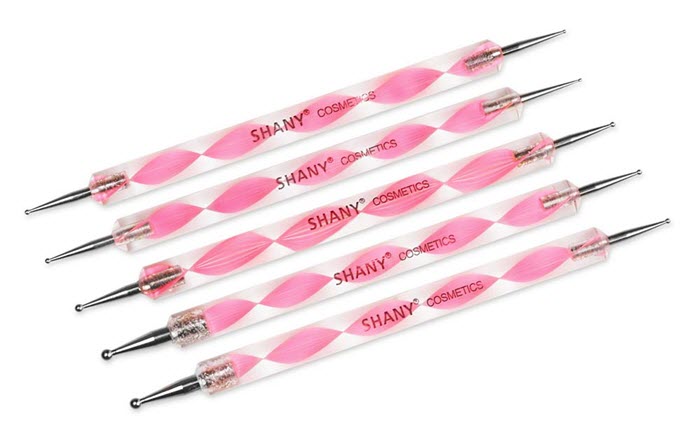
1. Dotting 5 X 2 Way Marbleizing Dotting Pen Set for Nail Art
Instead of using a toothpick or a cocktail stick, you can go professional and use a dotting pen. They’re very convenient and they’re very cheap.
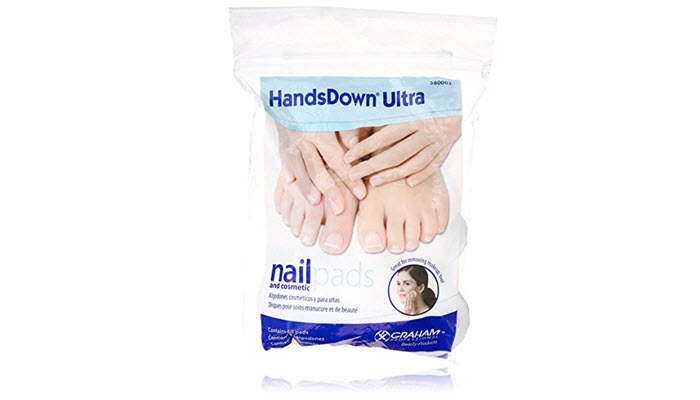
2. Graham Hands Down Ultra Nail and Cosmetic Pads
These are a little bit more expensive but you get 240 pieces. You’ll be using them till the apocalypse. Nail cosmetic pads are a must-have for nail art aficionados.
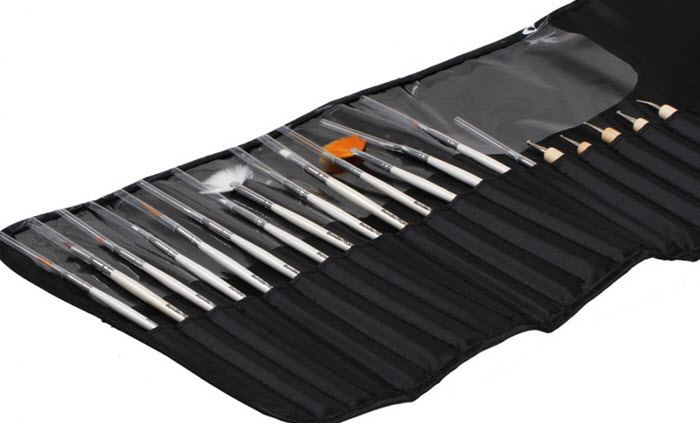
3. Bundle Monster New Pro 20pc Painting and Dotter Tool Kit
Just like the name promises, you get a monster set with this kit. It’s got what you need and plenty more. You’ve got detailing brushes in different shapes and sizes and dotting tools.
About Rose Walker
Rose Walker has worked as a nail artist for over 10 years. She's gained a lot of experience and developed her own unique style during that time. When she was working at a famous nail salon, she met Shirlyn. The two of them quickly became friends, and eventually decided to start their own website together. Naildesignideaz is the result of their collaboration - it's a website where they share their experience and offer tips on how to create beautiful nails.
Thoughts on "How To Marble Nails: With And Without Water!"